Table of Contents
1. Overview
8. Next Steps
1. Overview
On this page, you will learn how to design automation and generate many image variations at once by using a online spreadsheet provided in the DynaPictures application. You could also use No-Code tools like Zapier or Integrately for that, but sometimes you just want to get the job done as soon as possible and can use spreadsheets for that.
2. Create Image Template
We will need an image template to use it as a base for personalized images. If you are not yet familiar with image templates, just go to "Image Templates" on the left and then click on any template in the library. If you want to create your own template, please read the "Prepare Image Template" section in another tutorial and then proceed to the next step here.
3. Open Spreadsheet Page
Once you open your image template, you will see the spreadsheet link at the top right. Click it and navigate to a spreasheet page.
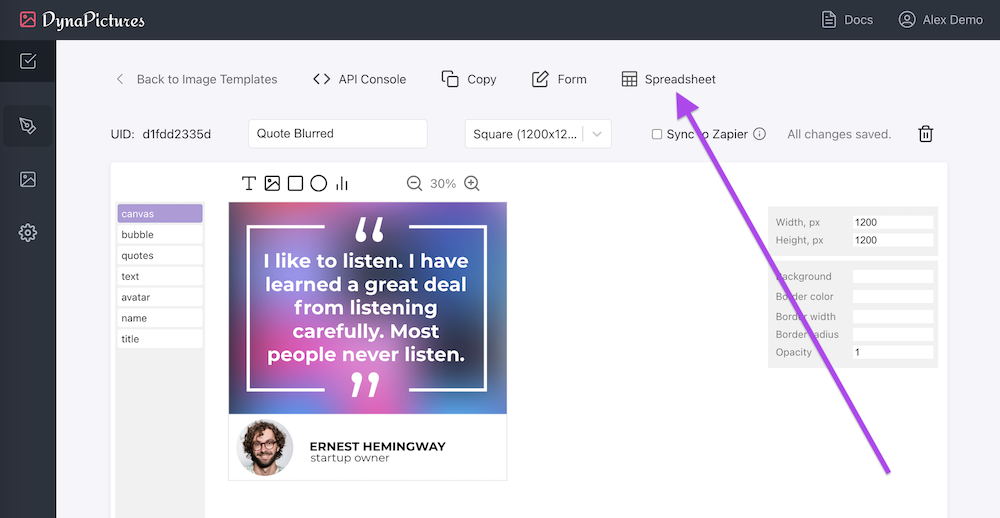
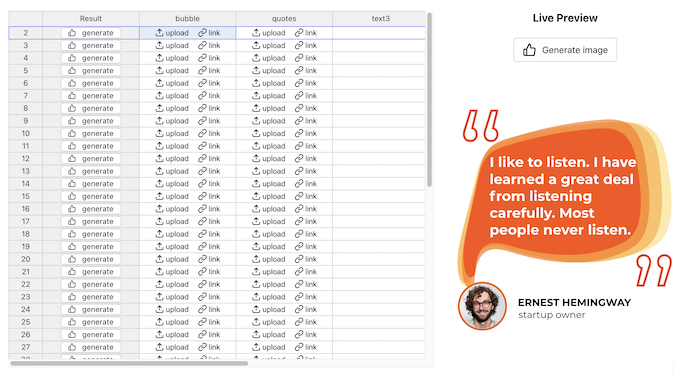
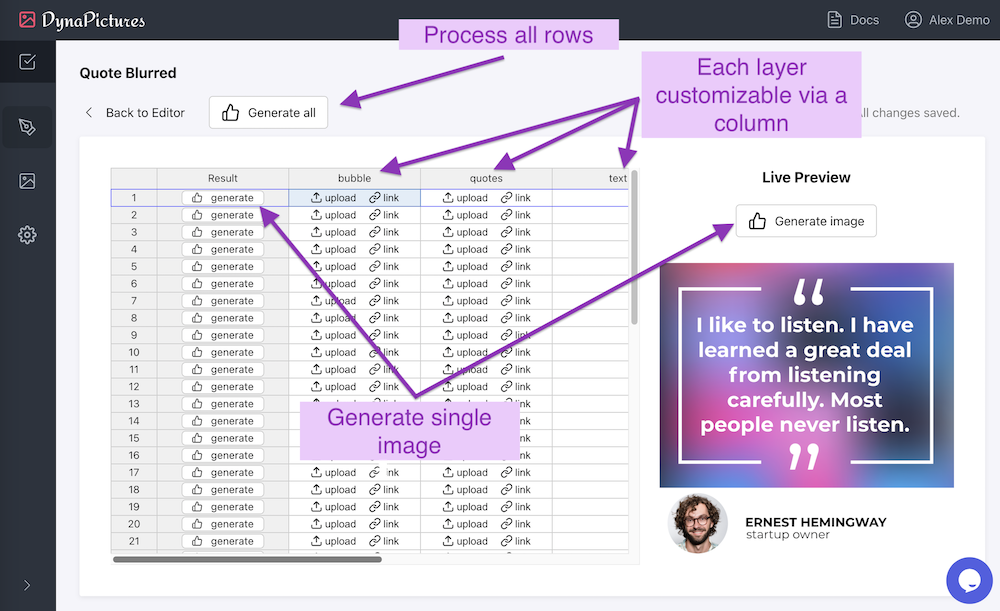
The spreadsheet page contains the online spreadsheet that you can use for data entry and image generation. It contains a spreadsheet on the left and the preview for the selected spreadsheet row on the right. You can generate images individually for a particular row, or process an entire spreadsheet at once.
4. Customize Image Layers
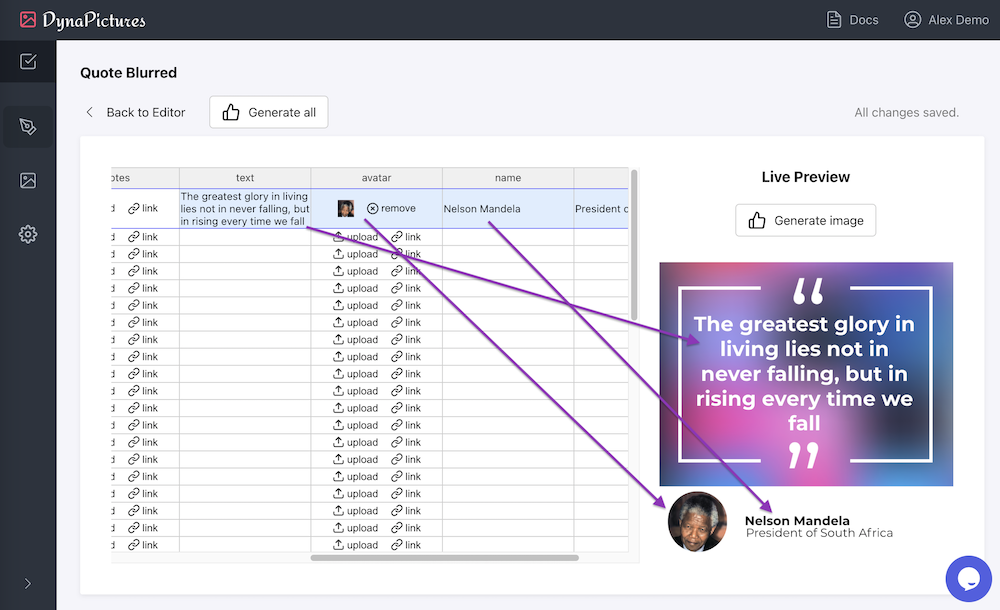
There is a dedicated spreadsheet column for each layer of the image template. You can enter text or upload image and then immediatelly see how your customized image looks like. We made this live preview for you, so that your image credits don't get consumed during testing:
5. Bulk Generation
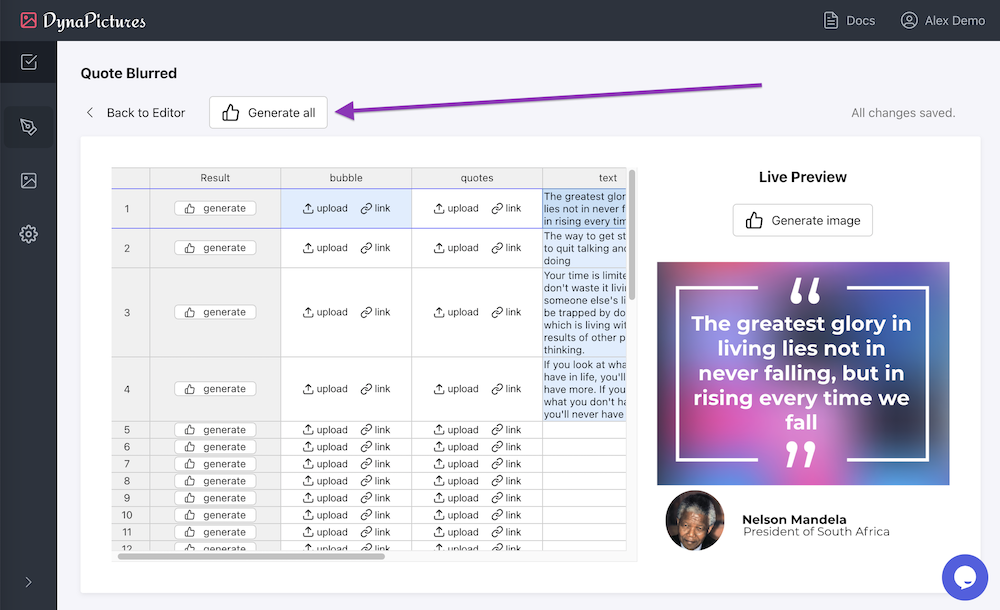
Once you are finished with the spreadsheet and entered all your data, you can start generating personalized images now. Click on generate all button at the top:
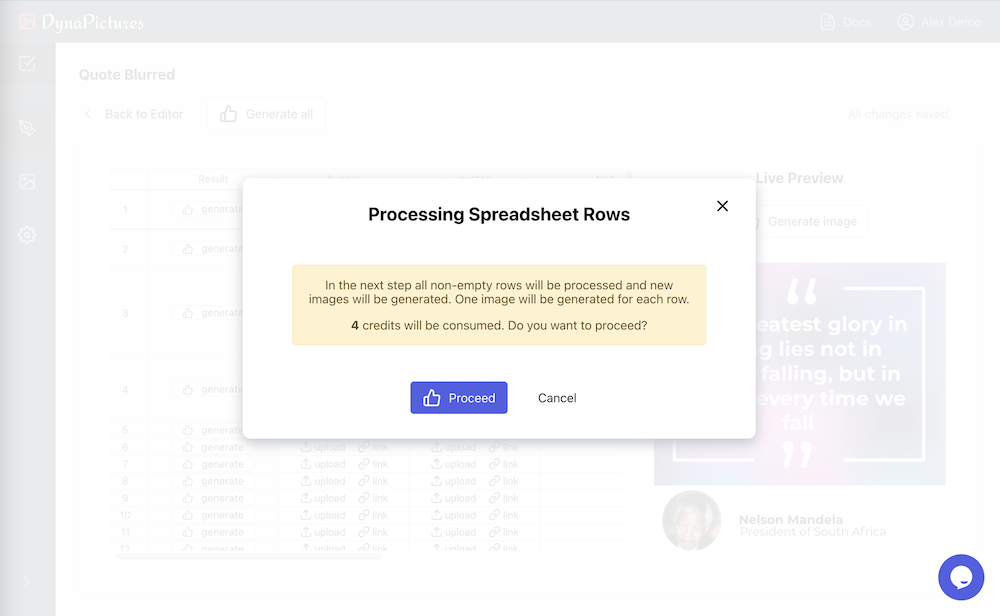
You will see a warning message containing a number of credits that will be consumed. This number correponds to the count of non-empty rows in the spreadsheet. Click on the Proceed button to continue.
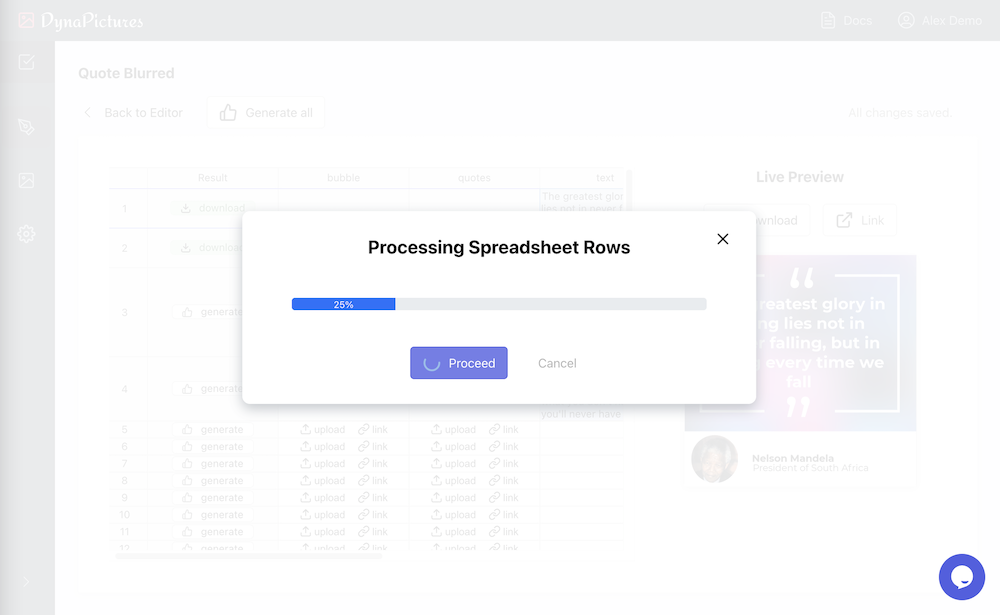
Generation process will start and will take some time to finish, depending on the count of rows in your spreadsheet. Don't close the window and wait till the generation is finished.
6. Download Results
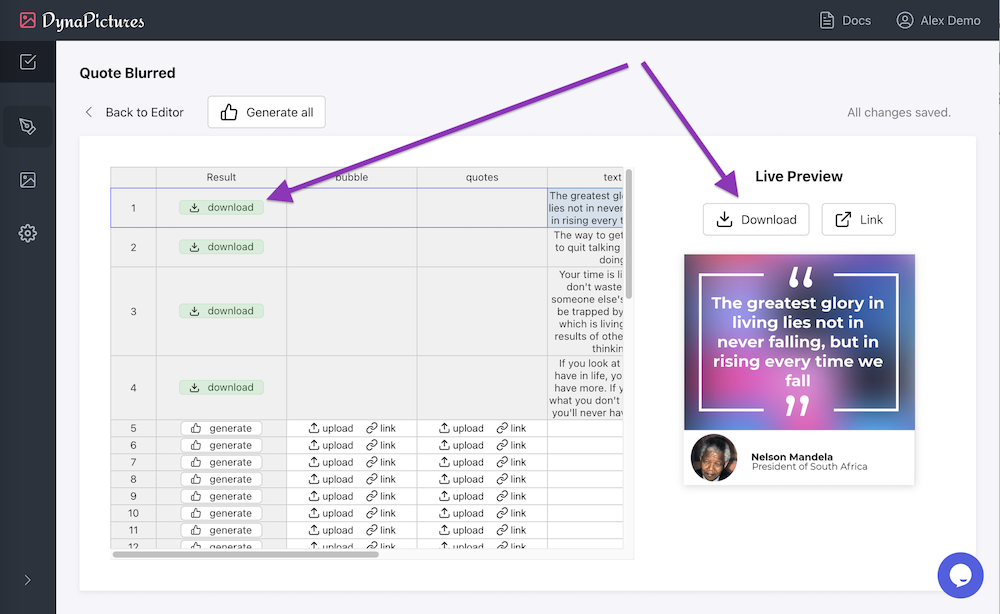
When auto-generation finishes, you will see that rows are updated in the spreadsheet and you can download results. You also can add new rows and start the process again.
7. Coming Features
We will keep improving and will provide the import from CSV/XLS files, as well as a bulk download option to download all generated images at once. In the meantime, if you want to save/download many images at once, you can use No-Code tools to save generated images to your Google Drive. Then you can download everything from Google Drive in one step.
8. Next Steps
Spreadsheets is a great way to get started quickly. Have a look at our Zapier tutorial if you want to configure No-Code automations, or at our Twitter tutorial if you want to use API and extend your product with design automation.