
Check your Reel or Story frame
Drop a 1080x1920 image or a frame exported from your video. The overlay shows the covered top, right and bottom areas right away.
The safe area becomes part of the design itself
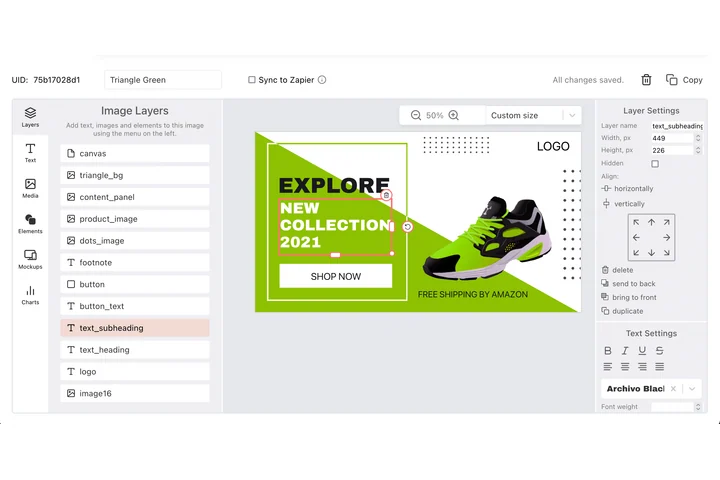
A Reel cover has to land in a second, and the interface claims the top bar, the right rail and the caption strip before anyone reads the words. In the DynaPictures editor those margins turn into coordinates: each text and logo layer sits at a fixed X, Y, width and height.
How to check the Instagram Reels safe zone
Drop a 9:16 frame
Upload a 1080x1920 image or a still exported from your video editor. Other 9:16 sizes are scaled to the same guides.
Read the shaded zones
The overlay marks roughly the top 250 px, the bottom 420 px and a 120 px rail on the right. Keep headlines, subtitles and logos inside the clear area.
Export the guides
Download a PNG of your frame with the overlay and drop it into your editing template or send it to your designer.
Why check the safe zone before posting
Current Instagram measurements
The guides follow the 2026 Reels and Stories layout: about 250 px at the top, 420 px at the bottom and a 120 px action rail on the right of a 1080x1920 canvas.
Nothing leaves your device
The checker runs fully in your browser. Your frame is never uploaded, so unreleased content stays private.
No daily counter
Check as many frames as you need. There is no login and no per-day limit on this tool.
Stories covered too
Story frames share the same 1080x1920 size. The progress bar strip at the top and the reply bar at the bottom are shown as well.
Guides you can hand off
Export a PNG with the overlay and reuse it as a layer in Premiere, CapCut or Canva so every future Reel starts inside the safe zone.
What the Instagram interface covers on a Reel
On a 1080x1920 Reel, roughly the top 250 px hold the status bar and the Reels tab labels, a rail of about 120 px on the right holds like, comment, share and the audio disc, and roughly the bottom 420 px are taken by the username, caption, hashtags and the audio line. Long captions expand upward and hide even more. Stories use a similar layout: a progress bar and account name at the top, a reply field with sticker and share icons at the bottom. Keep headlines, calls to action and logos in the centre area, and remember that the feed preview of a Reel is cropped to 4:5 or 1:1, so the most important element belongs in the middle of the frame.
Recommended layout
Keep text at least 250 px from the top and 420 px from the bottom, and stay 120 px away from the right edge. Faces or product shots may extend behind the rail as long as nothing essential is hidden.
Free limits
No daily limit and no login: the tool runs in your browser and nothing is uploaded. Exported PNGs are saved straight to your device.
Automate your Reel covers
The DynaPictures platform renders Reel and Story images from a template, with text and images swapped per post via API, Zapier, Make or a spreadsheet.
Frequently asked questions
It is the part of a 1080x1920 frame that no interface element covers. In 2026 that means staying roughly 250 px from the top, 420 px from the bottom and 120 px from the right edge.